Name Box: Step up Your Google Sheets Game
Google Sheets’ Name box is my favorite time saver of the year. It is situated to the left of the formula box and, by default, shows the coordinates of the current selected range.
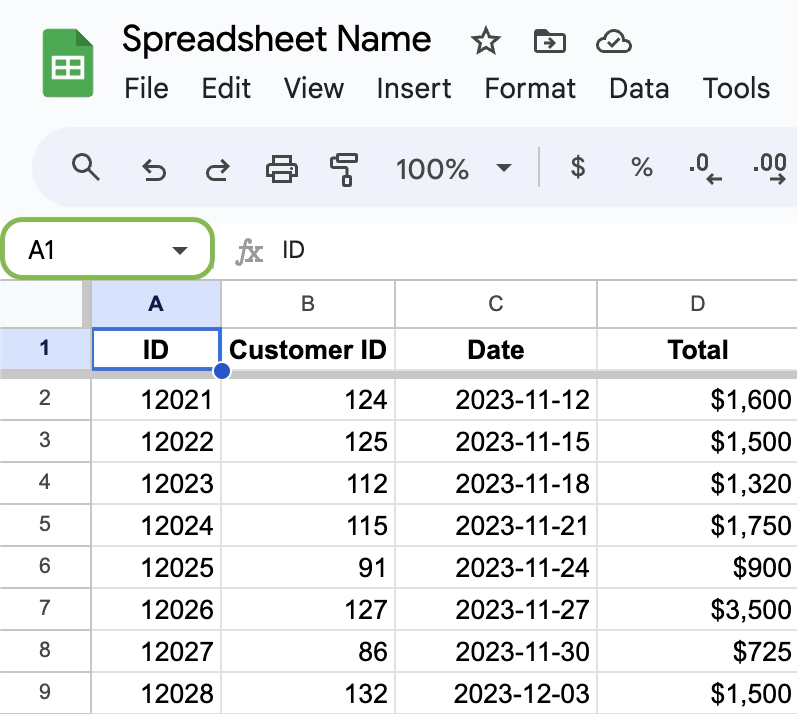
You can activate the Name box by pressing Ctrl + J on Windows/Linux or ⌘ + J on Mac.
It looks deceptively simple while packing a punch when working with named and regular ranges. Let’s look at what the Name box can help you do.
Video guide to named ranges in Google Sheets:

Create Named Range
To create a named range via the Name box:
- Select the range you want to name.
- Click in the Name box (or use a keyboard shortcut).
- Type in the name of the range and press enter. Now you have created a new range.
Name box cannot create a named range with the same name as an existing sheet.
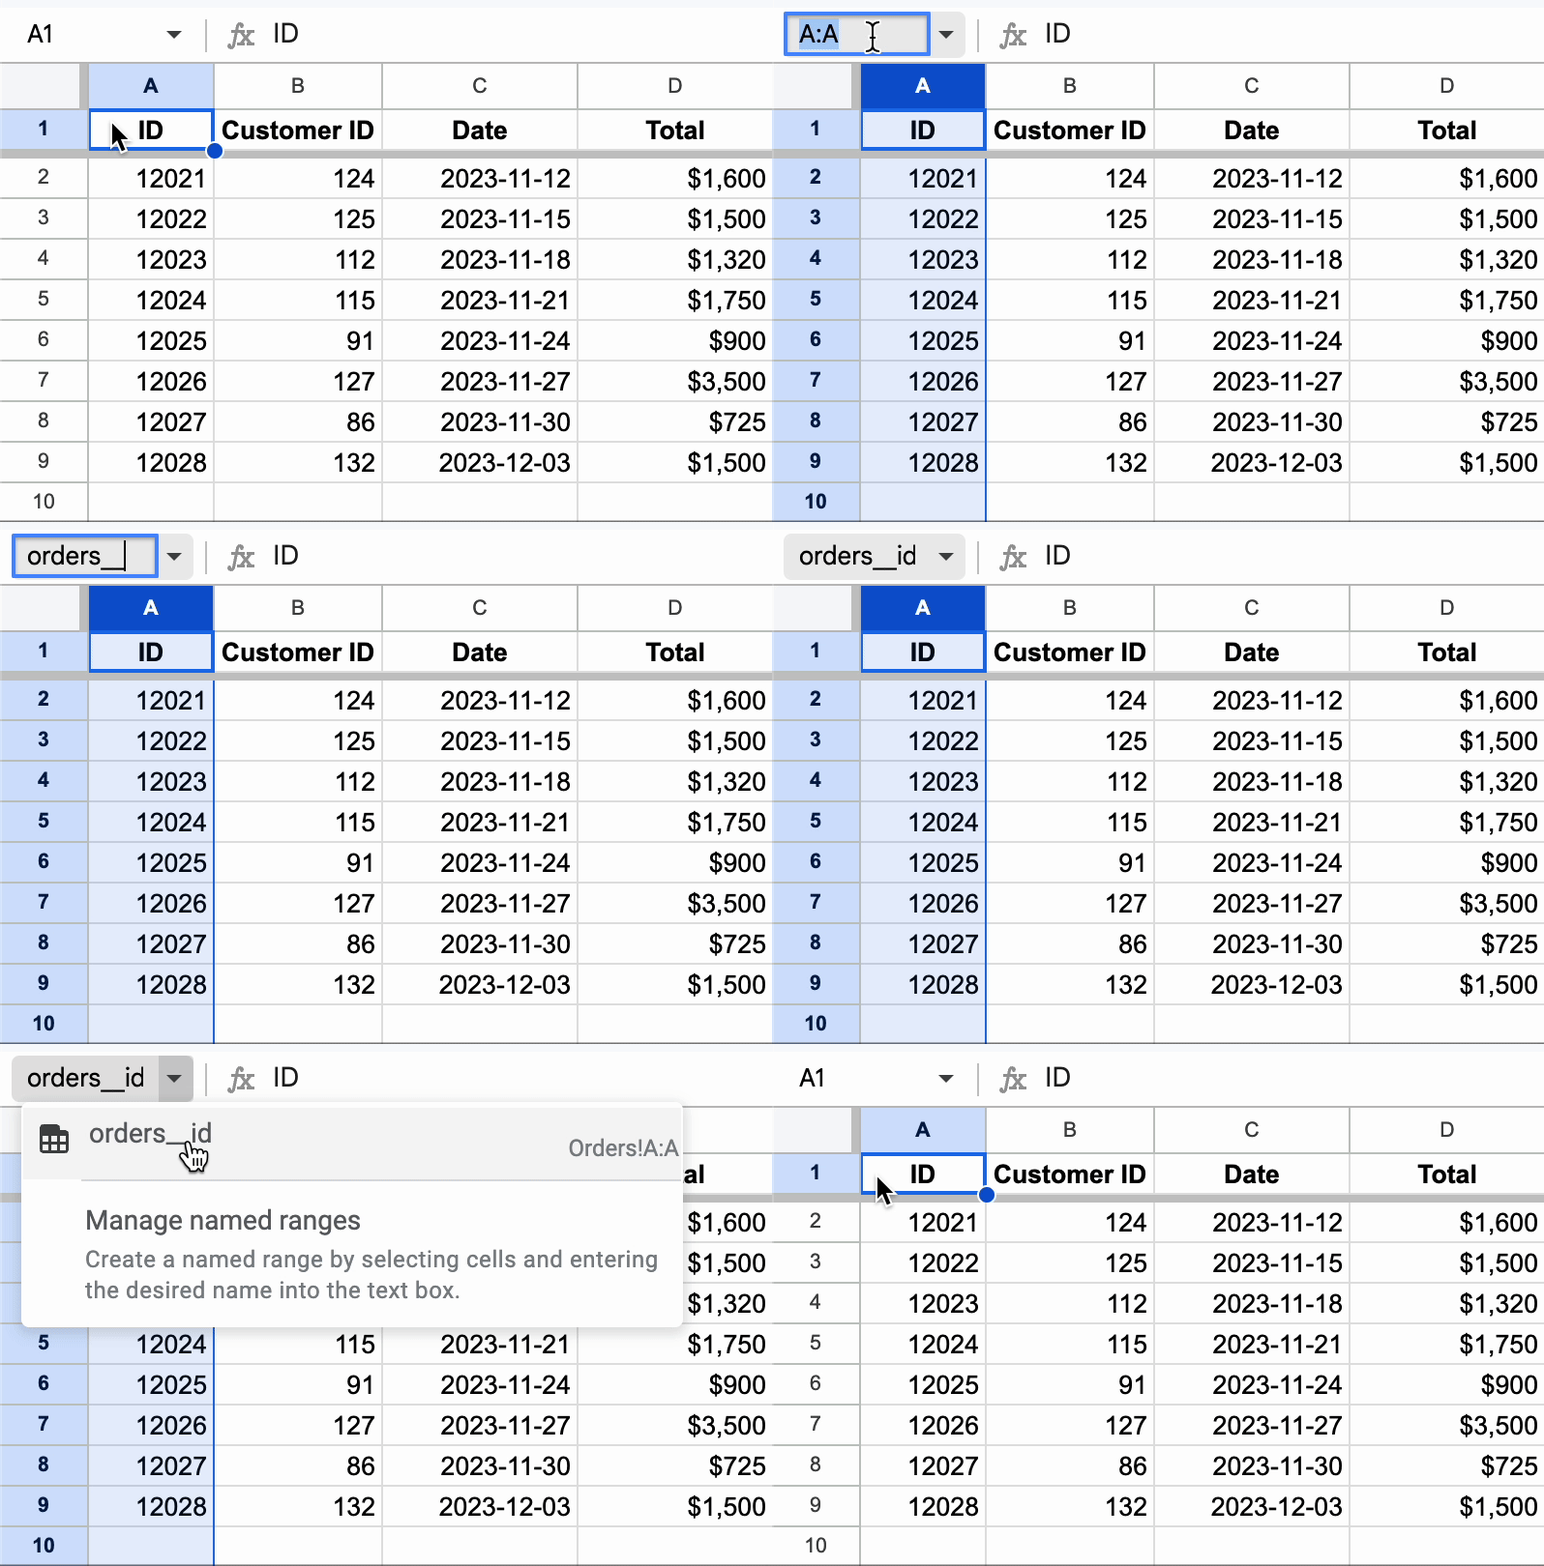
The Name box makes it easy to follow best naming practices for ranges in Google Sheets.
Rename Range
To rename a named range via the Name box:
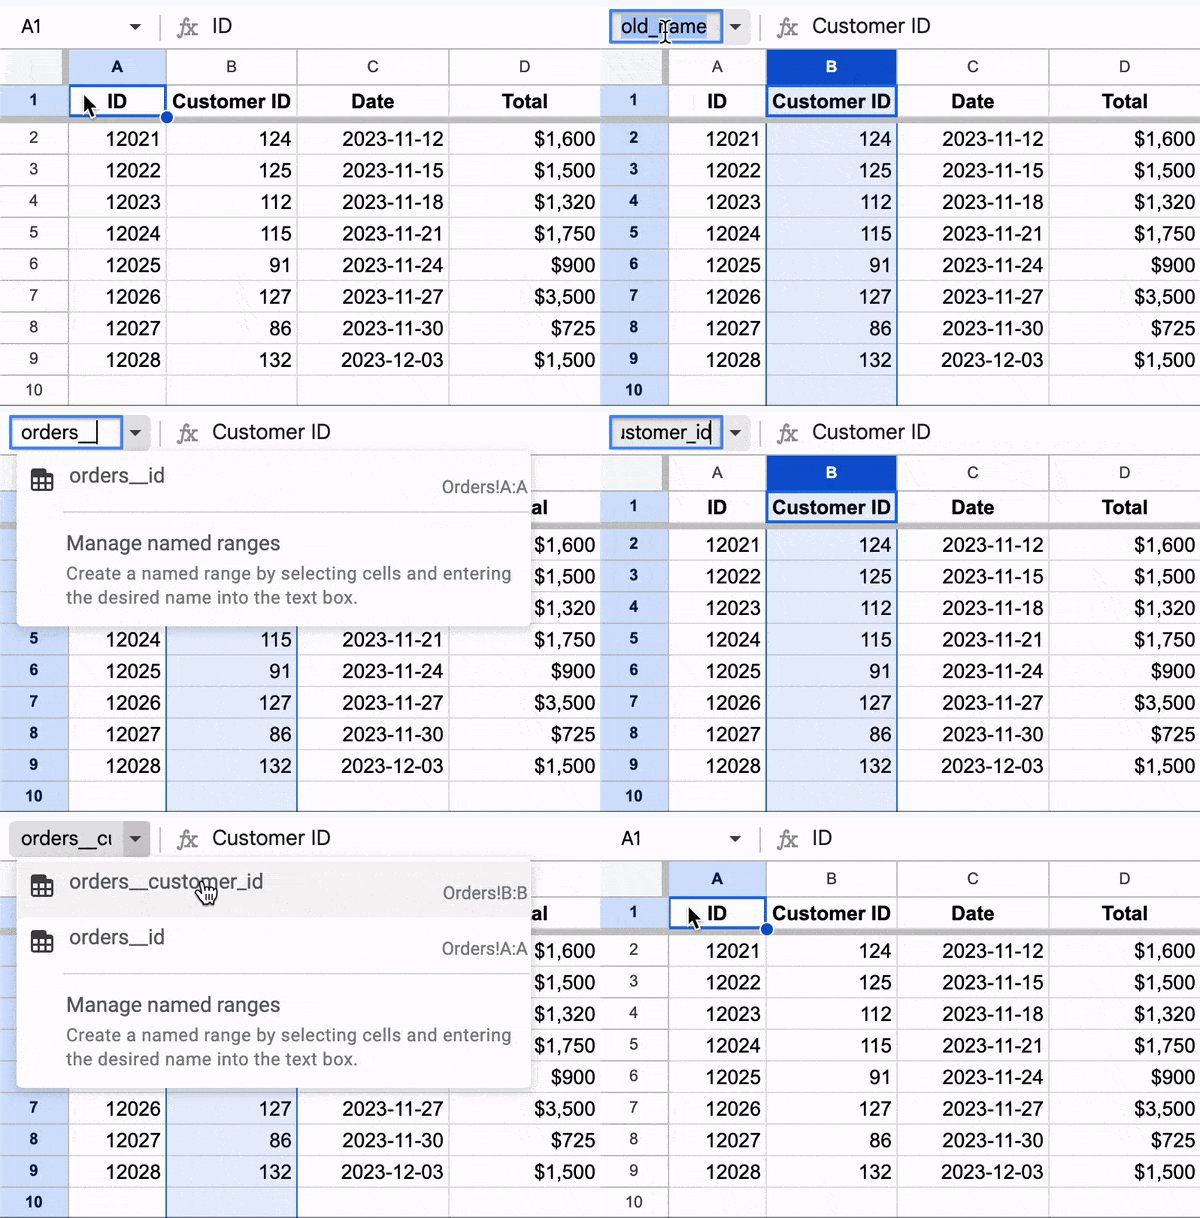
- Select the whole named range.
- The Name box will switch to displaying the current name of the range.
- Type in the new name and press enter.
Jump to Named Range
To quickly get to a named range:
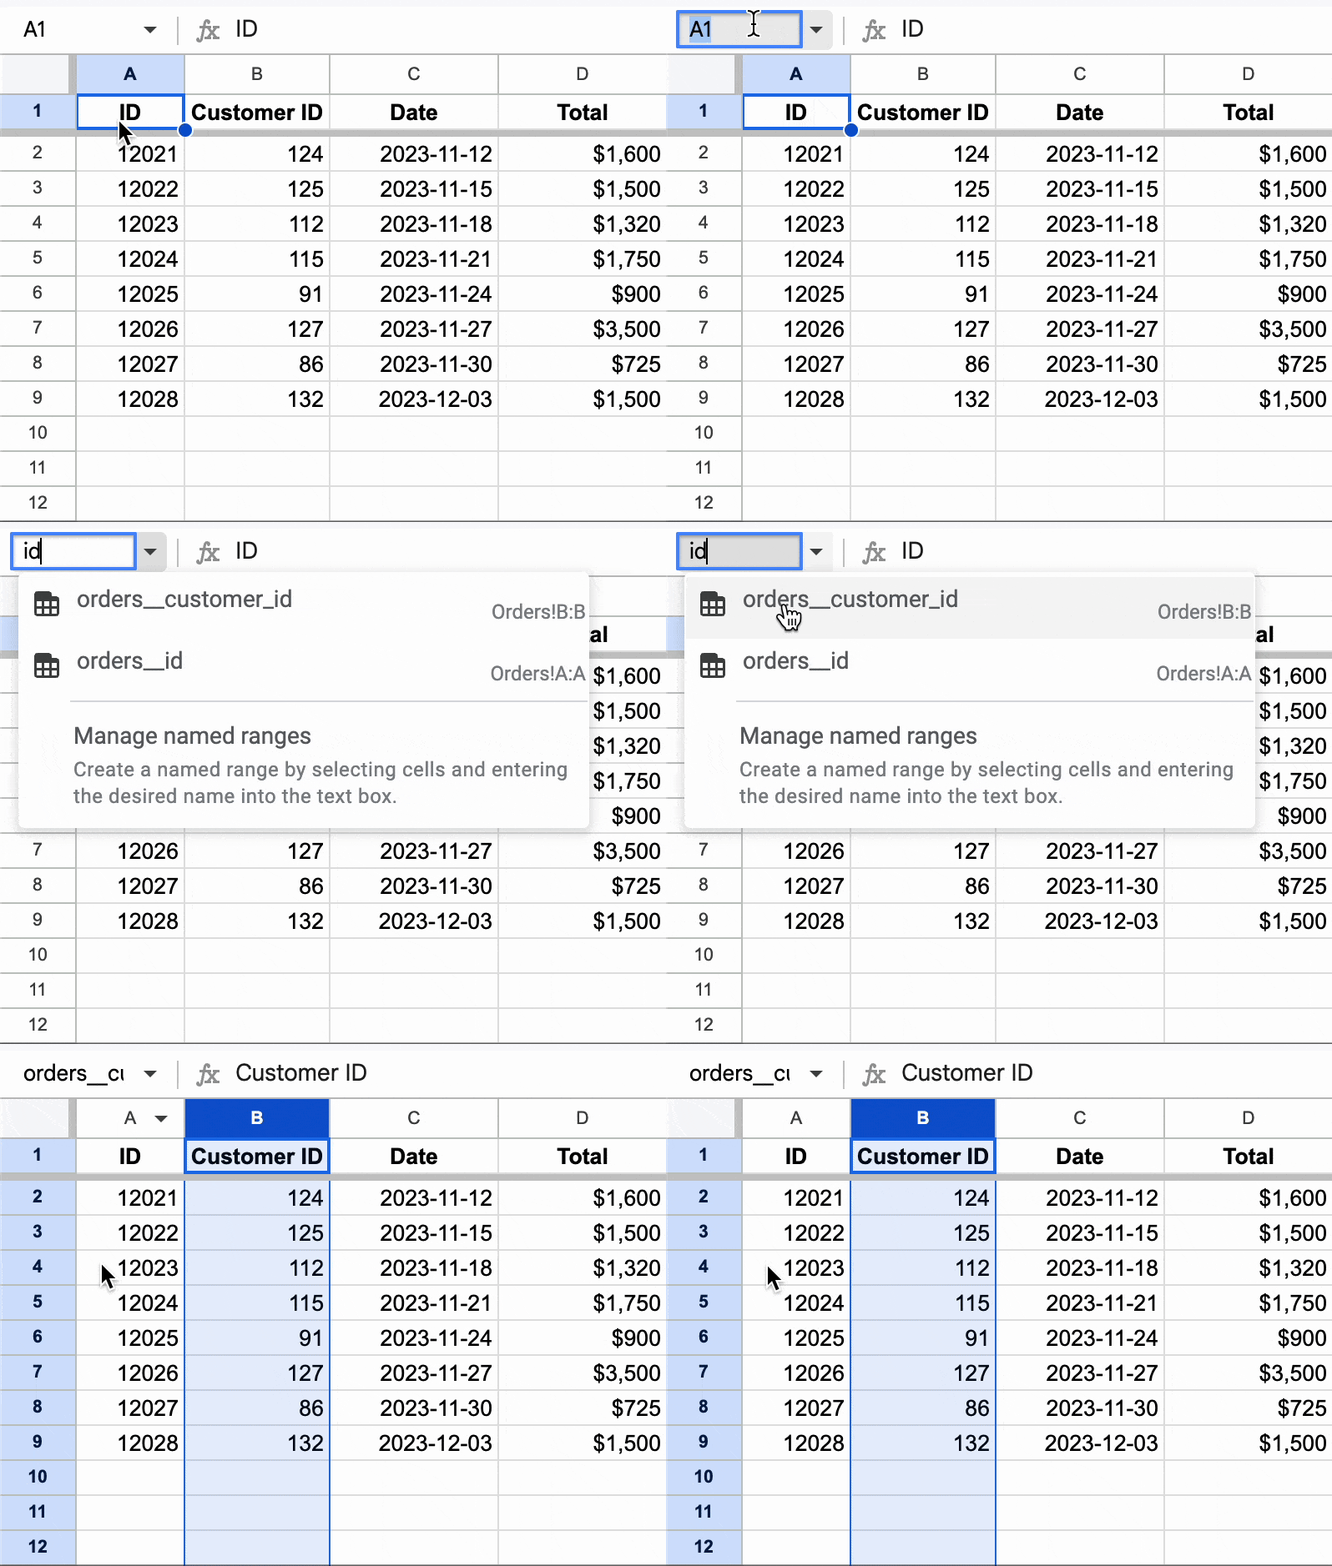
- Click on the Name box.
- Start typing the name of the range.
- Select the range from filtered results. The range will be automatically selected.
Jump to Any Cell
With the Name box, you can also jump to any cell by typing its coordinates and pressing enter:
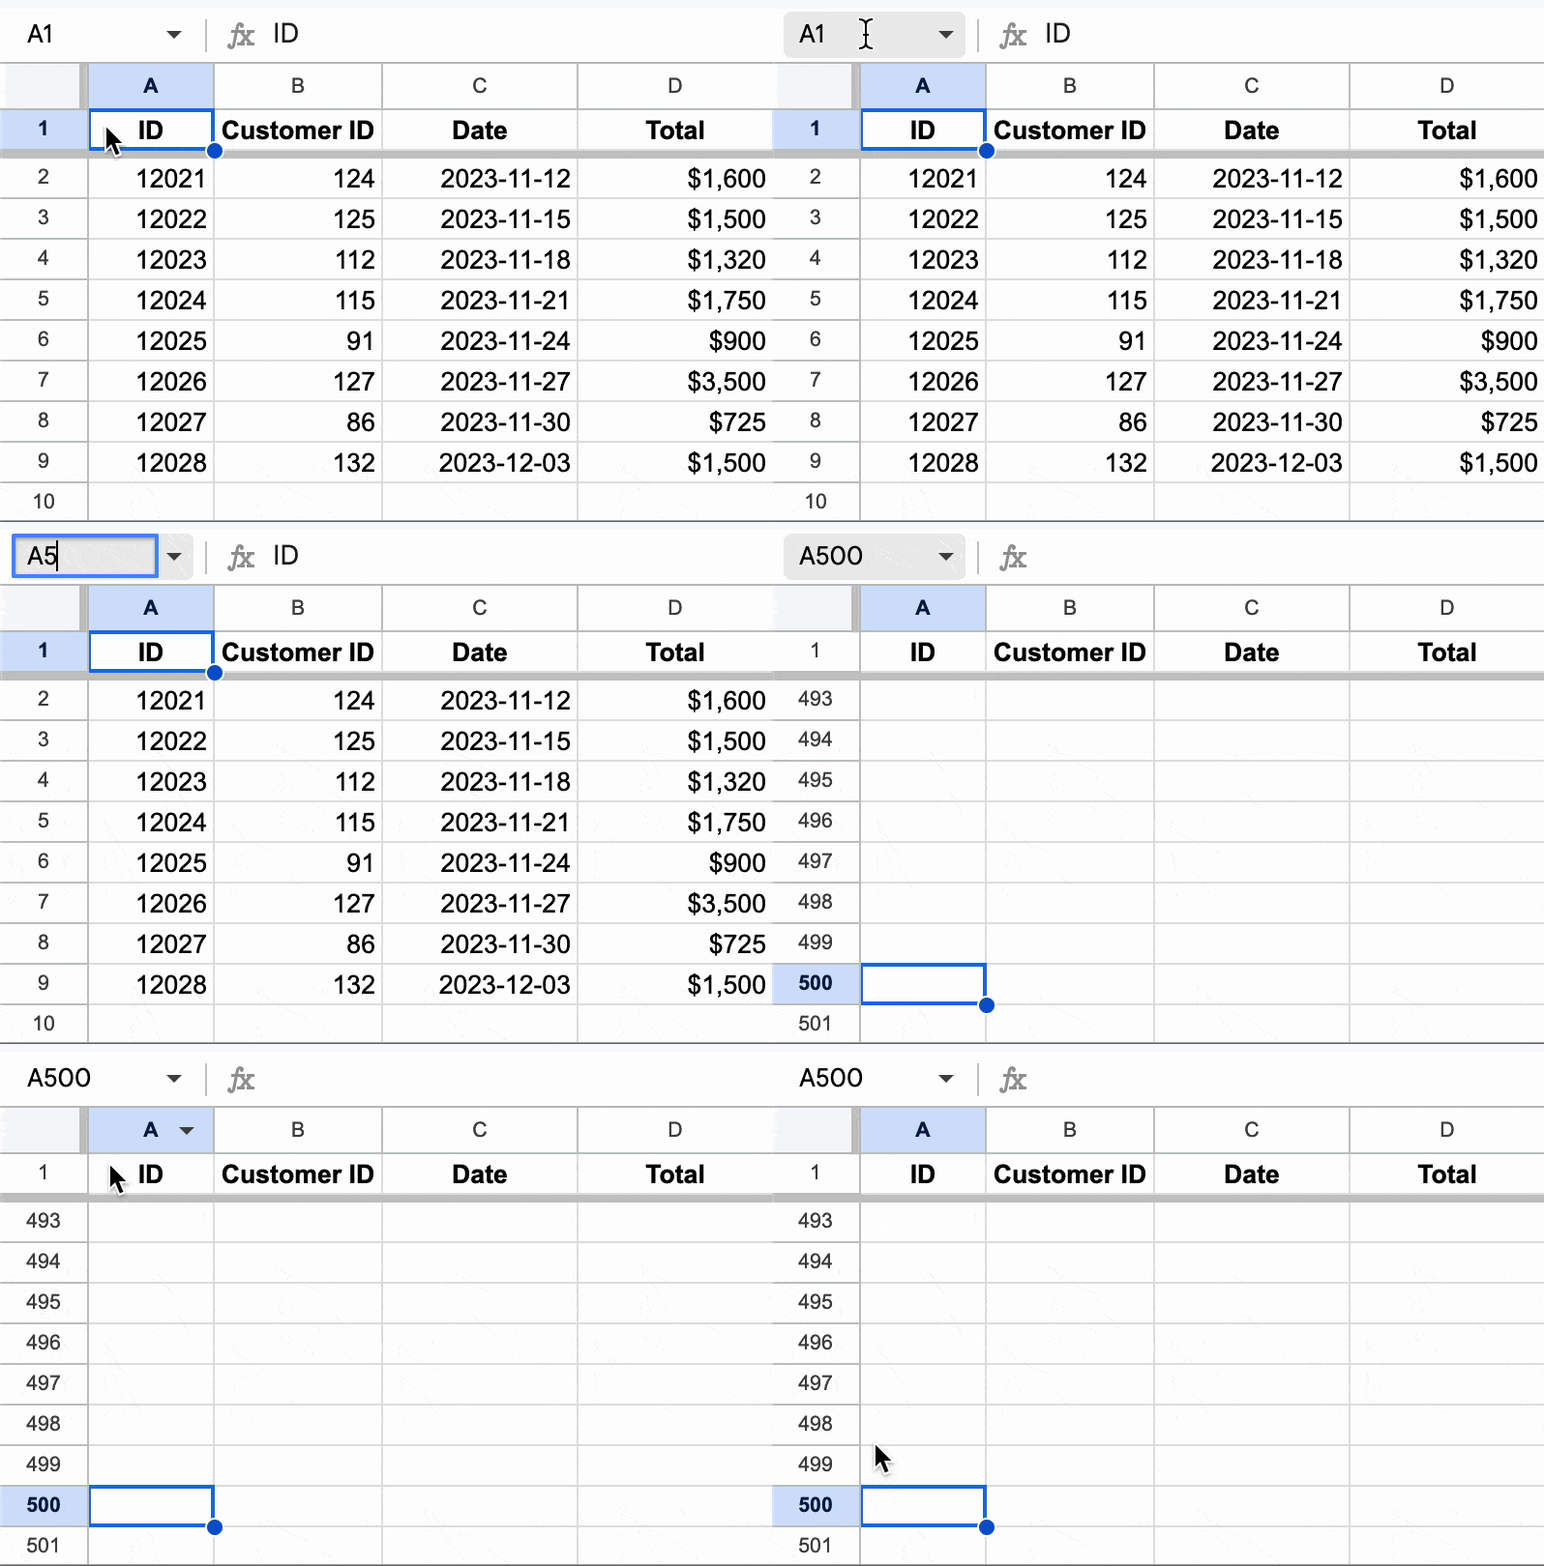
It is very convenient when you are dealing with large sheets.
Go to Named Ranges Panel
The Name box also gives an easier way to open the standard named ranges interface:
