What Are Named Ranges and How to Create Them
A named range, simply put, is a standard spreadsheet range given a user-friendly, meaningful name. For instance, rather than using Sales!A2:A100 in your formulas, you could substitute it with sales_date. This simple yet powerful tool allows you to use the same range across multiple formulas, thereby minimizing errors and enhancing your sheets efficiency.
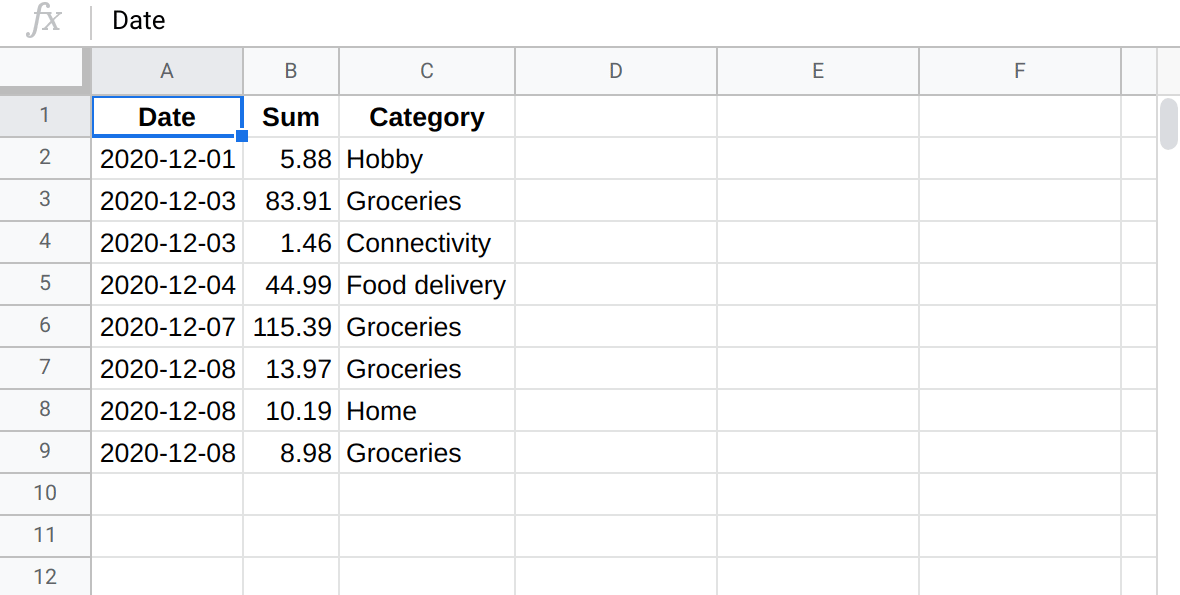
Create named ranges easier and faster with the Name box lifehack.
Creating a named range is straightforward. Follow the steps below:
- Select the desired cell range.
- Right-click on the selected range to open the context menu.
- Choose “Define the named range” (this may be found in the “View more cell actions” submenu).
- Enter a suitable name (best practices).
- Confirm by pressing Enter or clicking ‘Done’.
You can view all your named ranges within the spreadsheet in the Named ranges panel, which is located in the “Data” section of the main menu. Here, you also have the option to manually create new ranges or modify existing ones.

Named ranges are not only simple to create, but they also offer multiple advantages. In fact, I use them in almost all the spreadsheets I create, except for minor, disposable calculations. These handy tools can be even more powerful when combined with a few simple naming and sizing techniques.